There ’s nothing more nostalgic than homemade holiday decor .
Marty Baldwin
Snow globes perfectly capture thenostalgic childhood magicthat Christmas brings . This yr , individualise your own glittery cosmos by learning how to make a snow globe yourself .
Credit:Marty Baldwin
Not only does making your own snow ball appropriate you to create a custom , impulsive scene that match yourholiday decor aesthetic , it also double up as a meaningful family activity . Each time you give it a shake , you ’ll be ravish to that cozy wintertime day you spentmaking this guile . We suggest making a snow orb ( or several ! ) alongside someone special , whether that ’s a originative booster , better half , or trivial one .
What You’ll Need
Materials
Instructions
Set the Scene
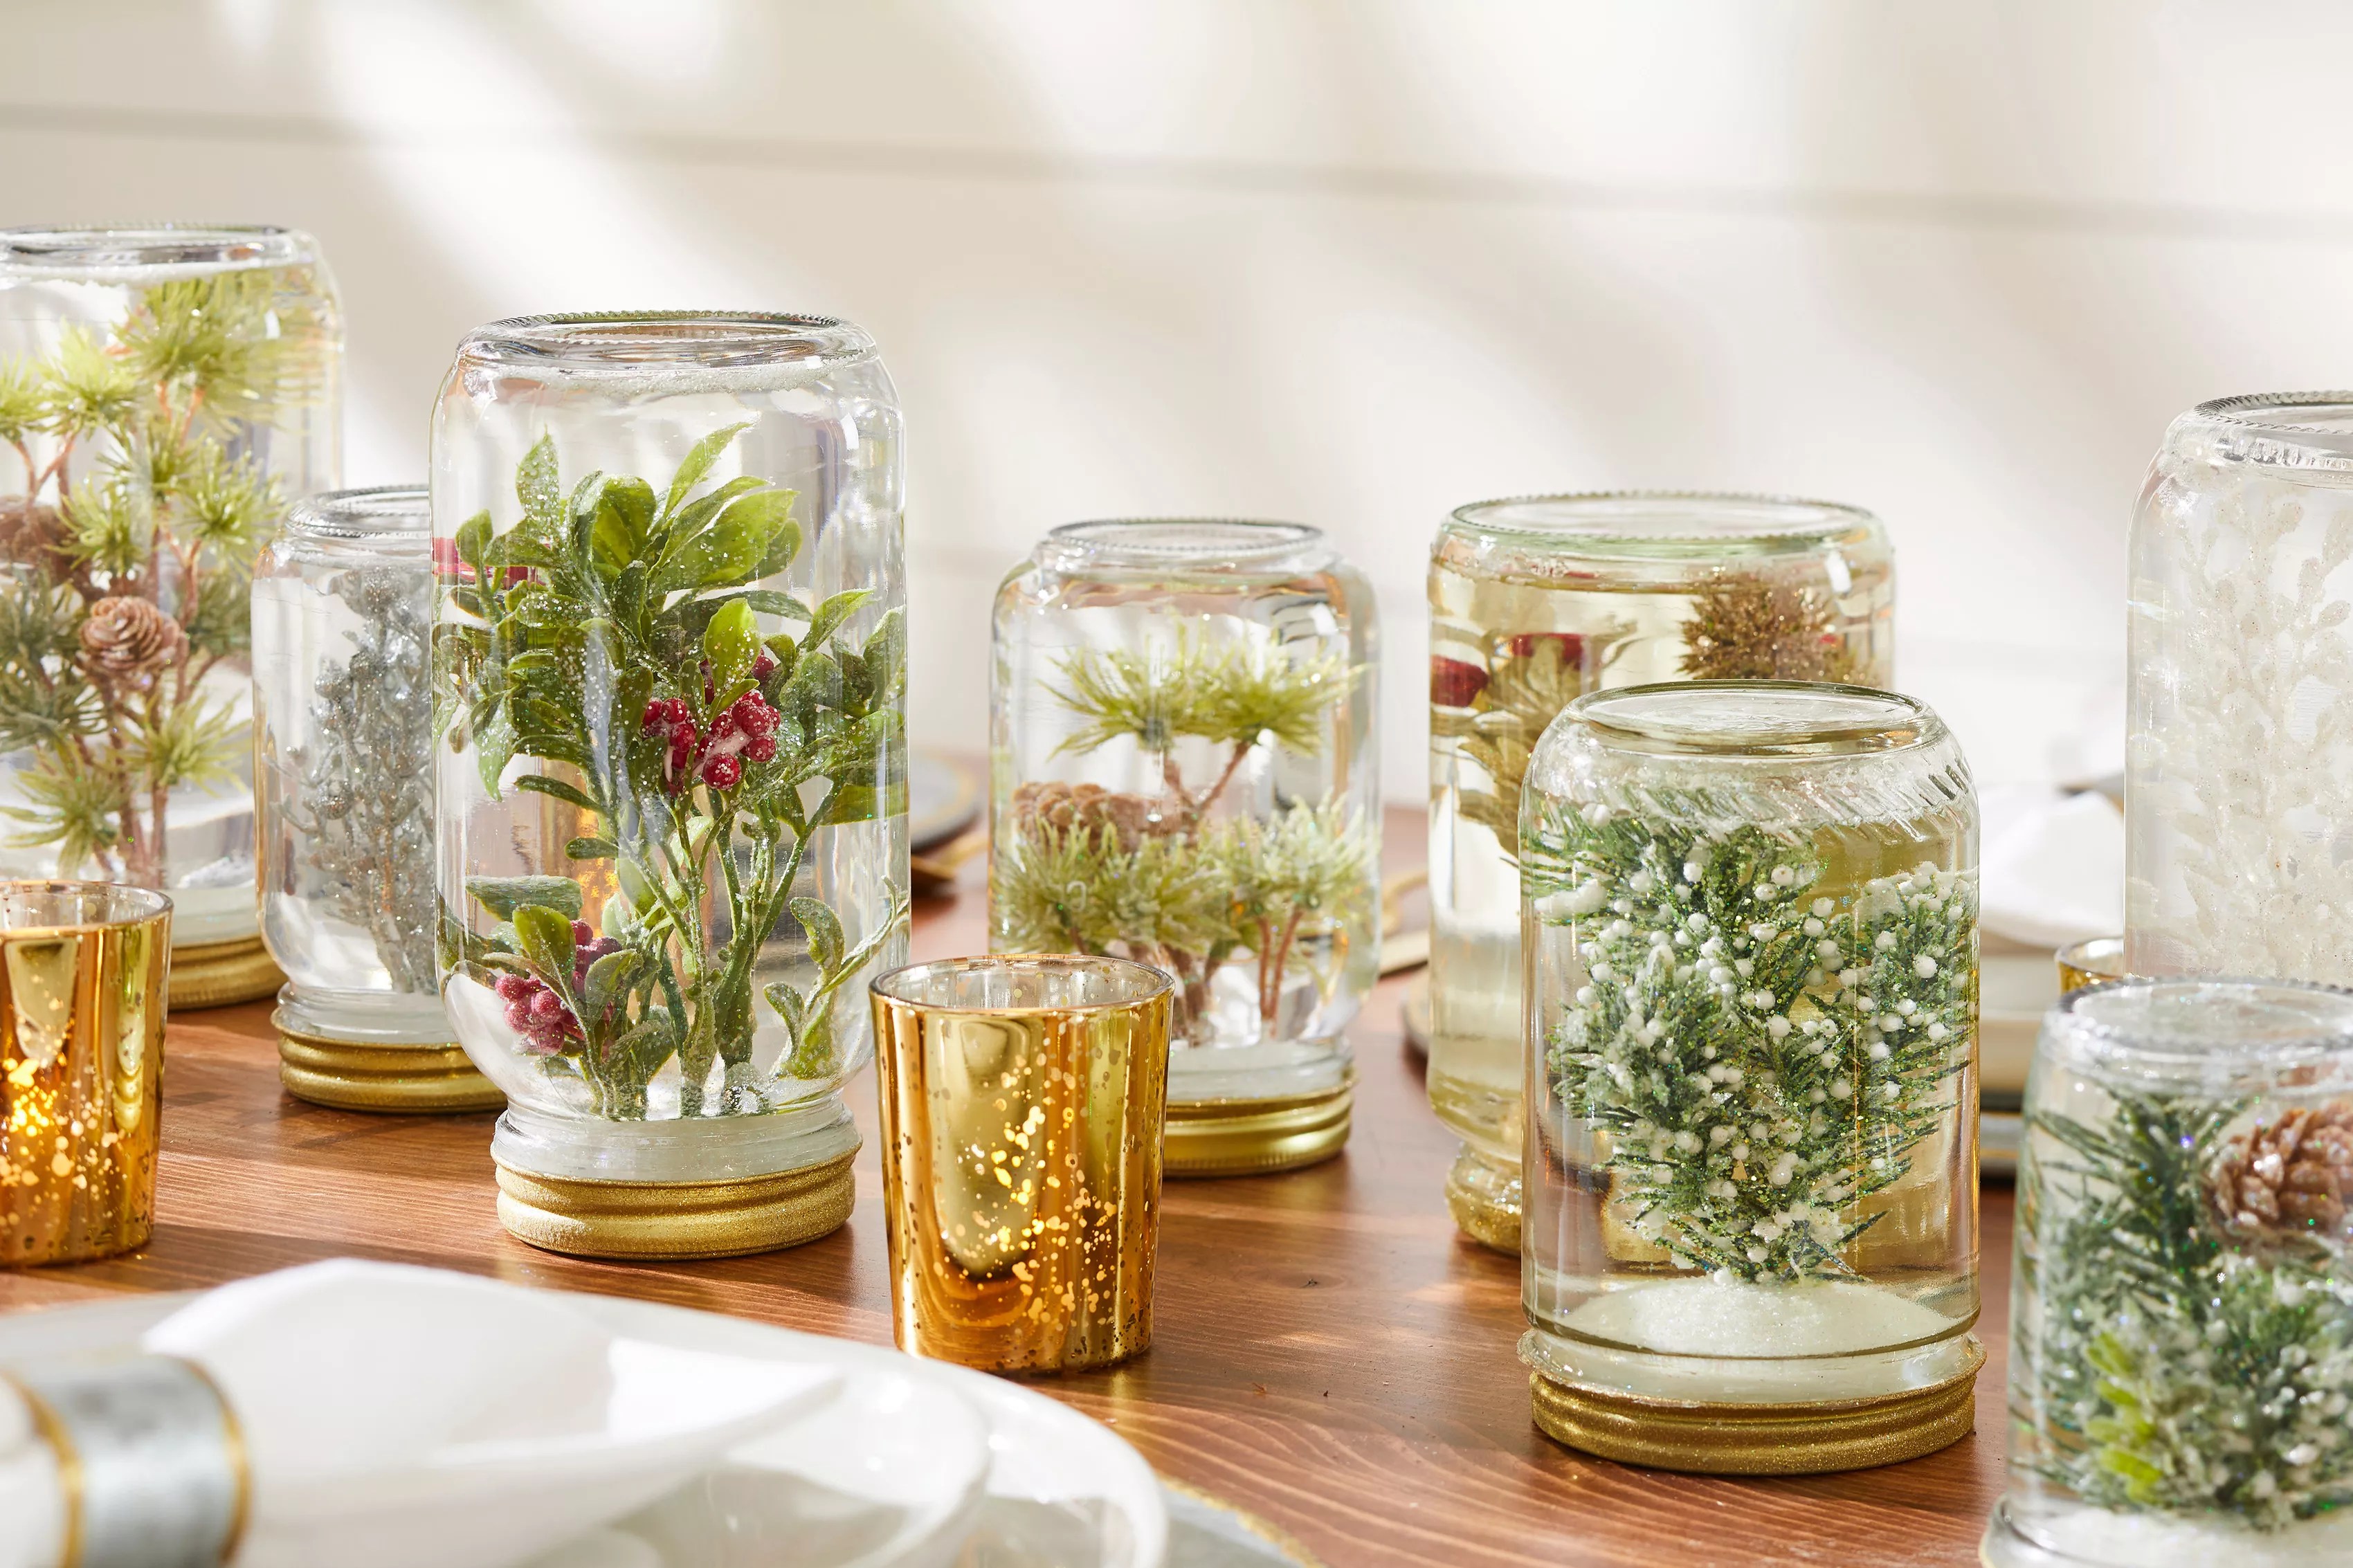
Creating a merry wintery scene is perhaps the most fun part of take in a blow orb . Gather small ceramic or plastic figurines to display , avoiding anything with metal component that could eat . Tiny Christmas tree , snowman , confect cane , and reindeer are all great prospect . Just ensure to impart enough room around the flange so the jar still closes properly .
Once you determine what you want to exhibit and get the positioning just right , start glue your figurines to the inside of the lid with a strong adhesive . You might find that a compounding of hot gum and epoxy glue works well . ensure to let your view dry completely for at least one hr or longer before disclose it to water .
Fill the Jar with Water and Glycerin
Take your unclouded jolt and pour in distilled water . entrust about a half in of empty space to allow for the volume that your statuette will add . Next , supply 1 - 3 pearl of glycerine , depend on the size of your shock and stir it with a spoonful . The glycerin will serve thicken the water a bite and allow the glitter to come at a soft , gentle pace .
Add Glitter
It would n’t be a true Christmas snowglobe without a dusting of glitter . To stave off making a big glittery mess , utilize a tablespoonful to add 1 - 2 scoops of glitter to the water and glycerin miscellany , and stir gently .
Secure the Lid
Once the snow globe scene has had fourth dimension to gear up and juiceless , use a generous layer of adhesive to the inside flange of your hat and drive in it on tightly . Allow it to dry out for about one hour before turning your snow globe right - side up . After sour it over , inspect the lip for leak to see the adhesive material is secure .
Shake and Display
flip out your creation , give it a easy wag , and look up to your handiwork . Display your snow globe somewhere particular , such as above your stockingson your chimneypiece .
